How to Make a Quited Tag Baby Blanket
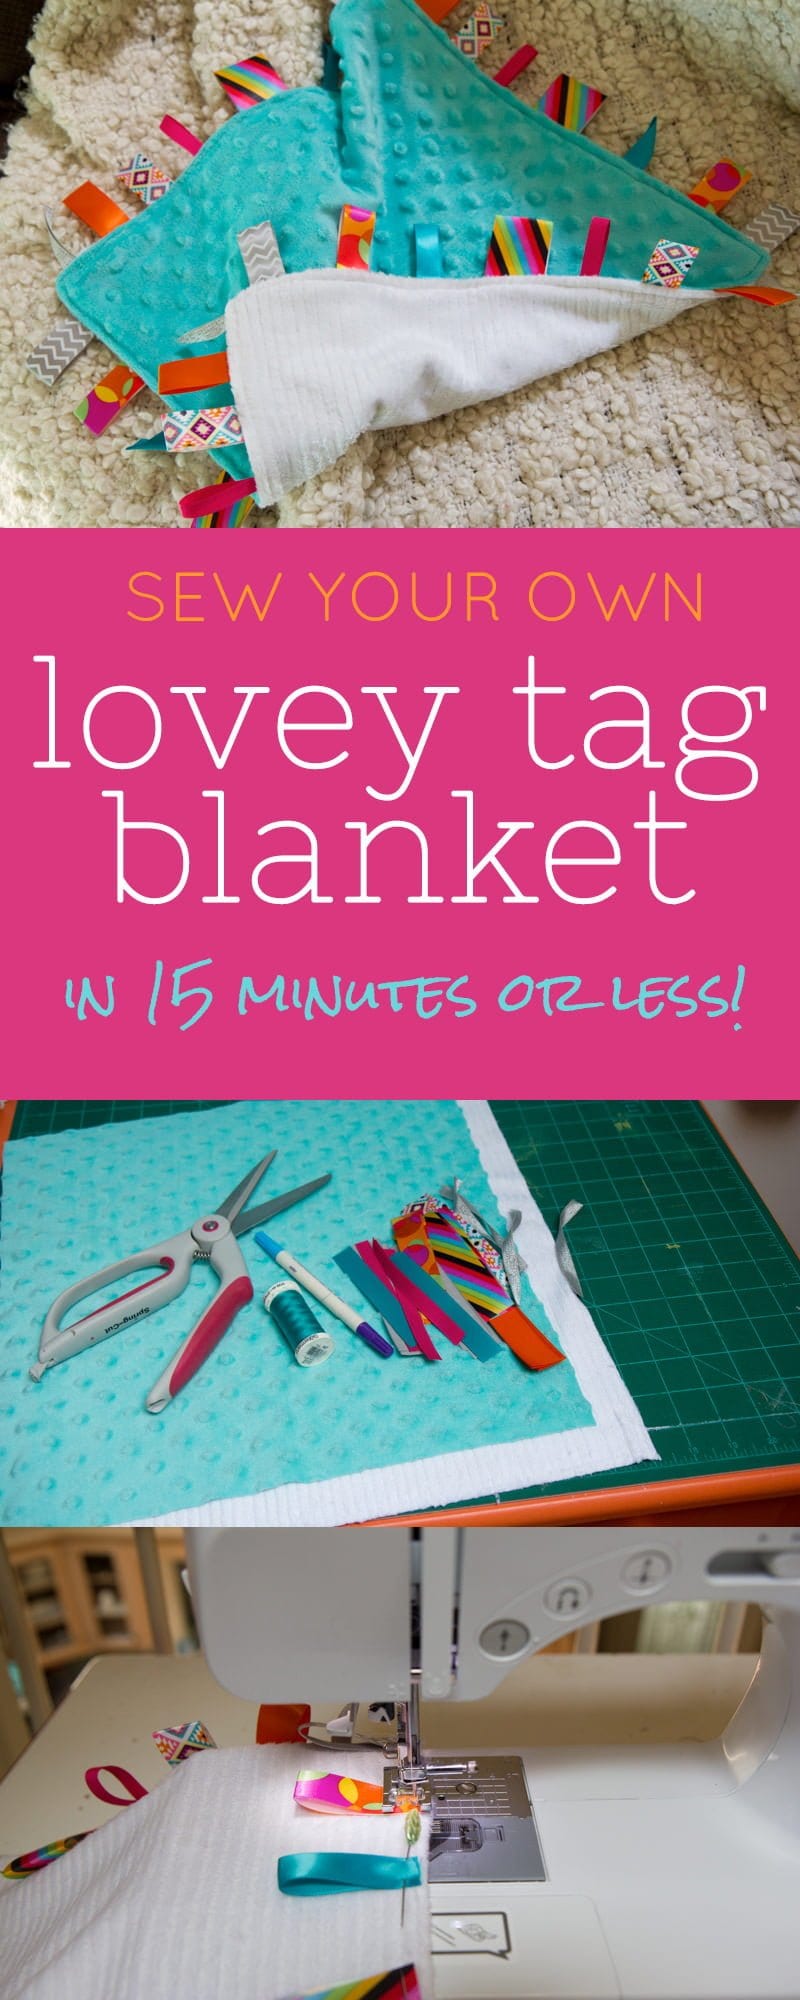
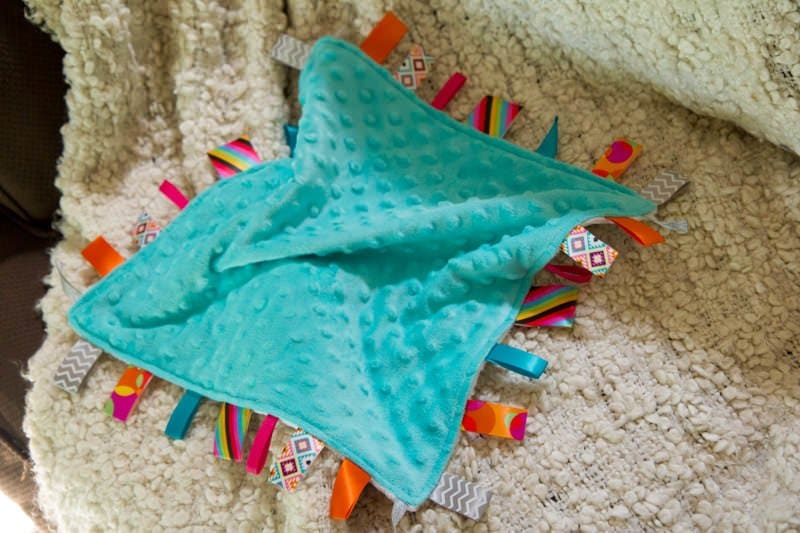
Before I had a kid, I had never heard of a tag blanket in my life (also called a "lovey"), and in fact, when I first saw one, I had a definite "Uh, what the heck is that for?" moment. Tag blankets are small. At about 16" square, they're too small to be used for warmth. And are covered by little ribbons. Weird, right?
But now that I have a beautiful baby girl, I totally get it. Tag blankets are a fun, portable way for babies to explore textures, colors and feeling with their hands. They're basically a toy that doesn't squeak, squawk, or make noise (which is awesome). They're completely washable and can fit in almost any pocket of any bag. I'm a big fan of tag blankets. And so is the JuneBug. We handed one to her a few weeks ago, and she was immediately fascinated by the various feelings and textures on the blanket.
The "original" tag blanket is sold by a company that holds the patent on the design, and, let me tell you, they ain't cheap. For what amounts to about $2 worth of materials, they can run upwards of $35! Because of the patent and copyright, there is supposed to be no selling of off-brand tag-style blankets on the market, but I thought I might share a quick tutorial for how to make one for other frugal parents out there. Just don't sell them using this pattern. Because you might get sued. And that wouldn't be cool. I don't want you to get sued.
Here's what you'll need to make your own tag blanket:
- 2—17" squares of fabric
- 32–4" pieces of fabric ribbon
- Coordinating thread
- Ruler and fabric pen
- Pins, scissors, sewing machine, all the other good stuff that goes along with sewing.
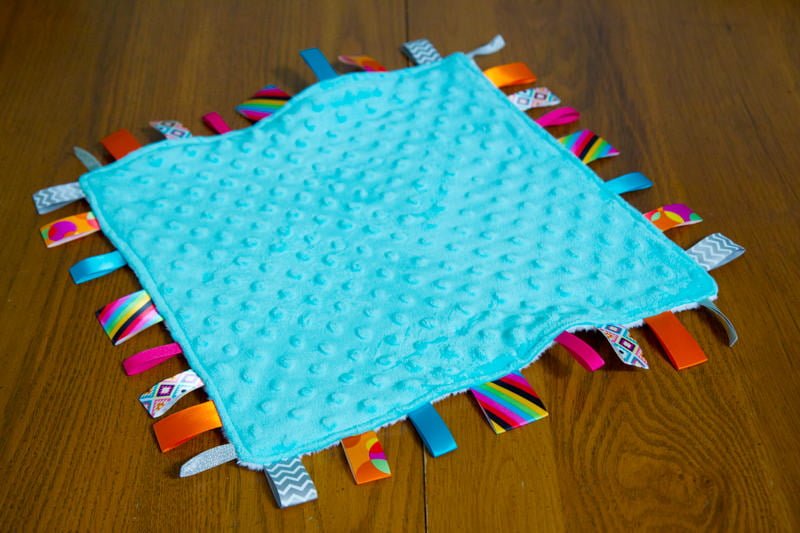
For the fabric, I highly recommend using two different textured fabrics for the most varied tactile experience—I used two squares of soft minky, one with raised dots, and one with ridges. You could also use terry cloth, velour, satin, fleece—basically anything that has an interesting texture. Also, the bolder the patterns and colors, the more likely your baby will be to respond earlier.

Follow the same philosophy for the ribbon – pick different textures, fabrics and colors. I went with a collection of grosgrain, satin, and textured fabric ribbon. Don't use any ribbons that have glitter or embellishments that could come off (these WILL end up in your baby's mouth). And again, try for colors that are bright and bold—baby girl is really digging the orange and pink circle ribbons right now.
Also, I recommend checking with the cutting table at your local fabric store – they might be able to slide you some freebie short remnants of ribbon cuttings that they couldn't otherwise sell. Trust me, they aren't doing anything with their 4" ribbon pieces but throwing them in the trash.

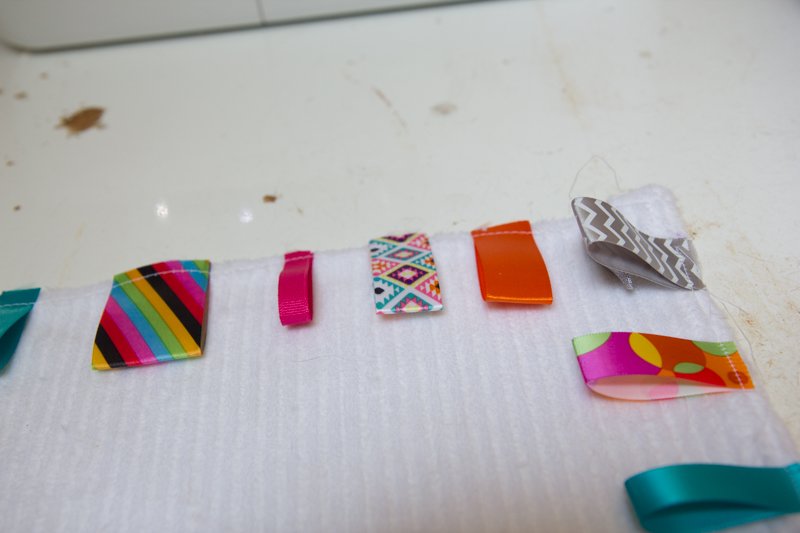
This blanket is so easy to make, it's ridiculous. Start off with one of your 17" squares of fabric, right-side up. Using a ruler and fabric pen, measure in 8 1/2" from one corner, and place a mark.

Then, take the ribbon you'd like to be in the middle of the row, and fold it in half, right-side out. Pin that ribbon down on top of the mark you just made—aligning the center of the mark with the center of the ribbon, and aligning the raw edge of the ribbon with the raw edge of the fabric. Make sure the folded side of the ribbon is "pointing" in toward the middle of the piece of fabric.

Fill in left and right of the center ribbon with your remaining ribbons—folded in half, right-sides-out—making sure to space them out evenly (this will depend on the width of your ribbons). Also, make sure to leave about an inch free on the ends.
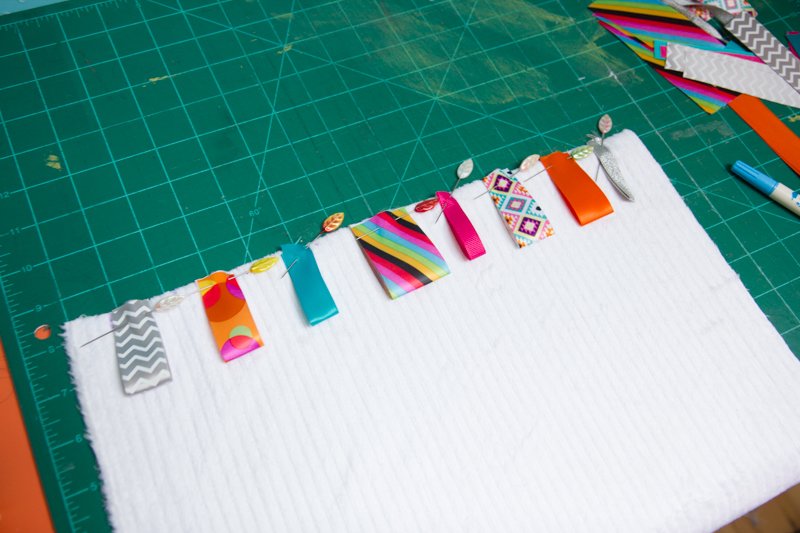
Repeat with all the ribbons on the remaining three sides. It looks a little crazy, but I promise it'll end up working out when you're done.

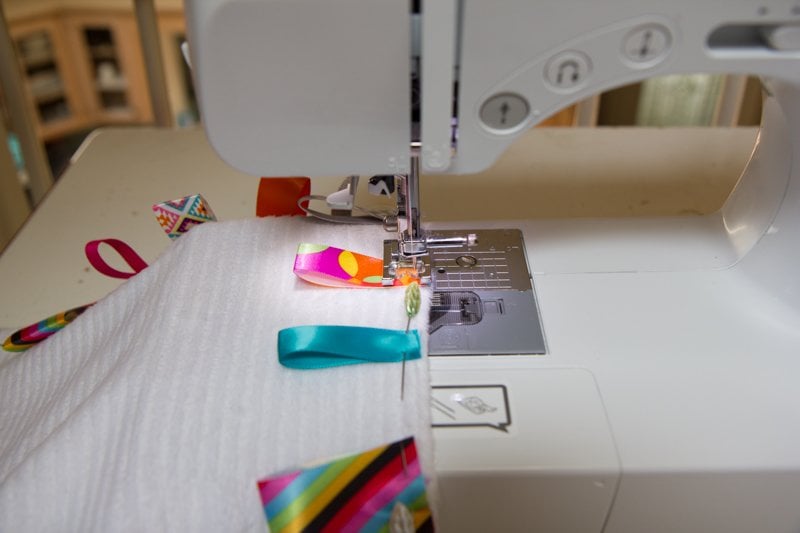
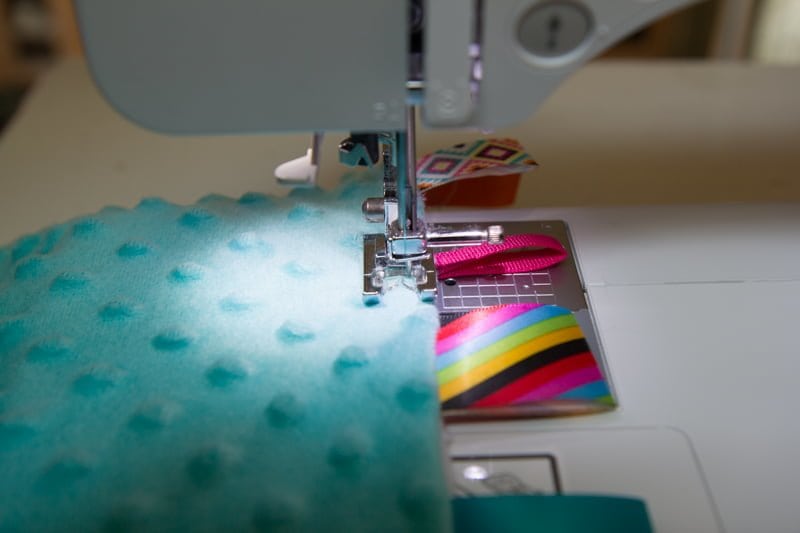
Go ahead and place the blanket on the sewing machine and sew 1/4″ away from the edge to tack the ribbons to the blanket—removing the pins as you go.
Now take your second square of fabric, and place it, right-side-down, on top of the piece of fabric with the attached ribbons.
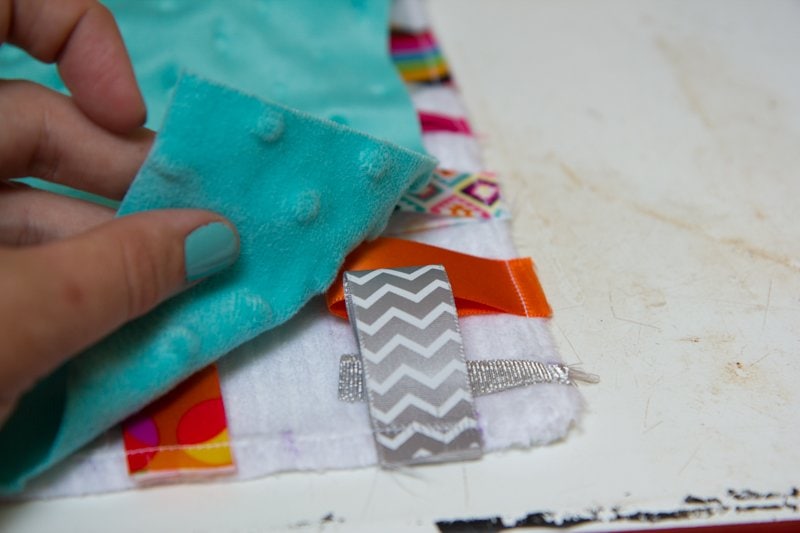
Align all the edges neatly and then pin it down.
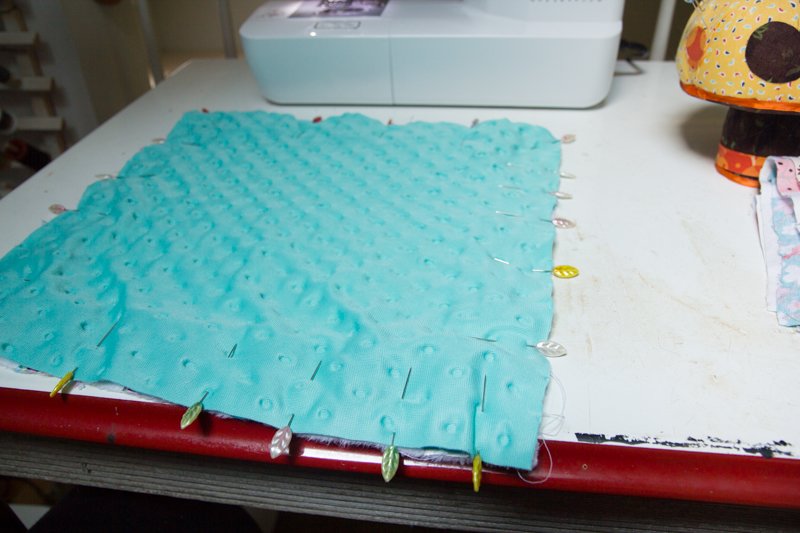
Using a 1/2" seam allowance, sew all the way around the edge of the blanket, except leave a 3" gap in the middle of one of the sides to allow you to turn the blanket inside out.

Using that gap, turn the whole thing inside out. Like magic, the ribbons are facing the right direction!


Give the blanket and good pressing, and then carefully fold under the unfinished part of the seam, and pin together.


Using a coordinating (or contrasting, if you're feeling crazy) thread, top stitch 1/4" from the edge of the blanket, all the way around. This not only closes the opening, but it also reinforces the ribbons so little exploring hands can't pull them out.
Give it another good pressing, and voila! A tag blanket.

This would make an awesome gift for a baby shower. And they're so easy to make, you could make a couple with various patterns and textures to keep baby guessing.
How to Make a Quited Tag Baby Blanket
Source: https://wholefully.com/tutorial-diy-lovey-tag-blanket/
0 Response to "How to Make a Quited Tag Baby Blanket"
Post a Comment